Share your image
The following steps are required to share your newly created docker image to docker registry.
Create Dockerhub account
Docker hub is one of the main docker registry to store your images. You can save multiple public images for free. To sign up to docker hub visit here.
Note
Make a note of your dockerhub account name because you will need it to login from terminal in a later step.
Create a repository
Login to docker hub account online.
Click Repositories tab from the top bar.
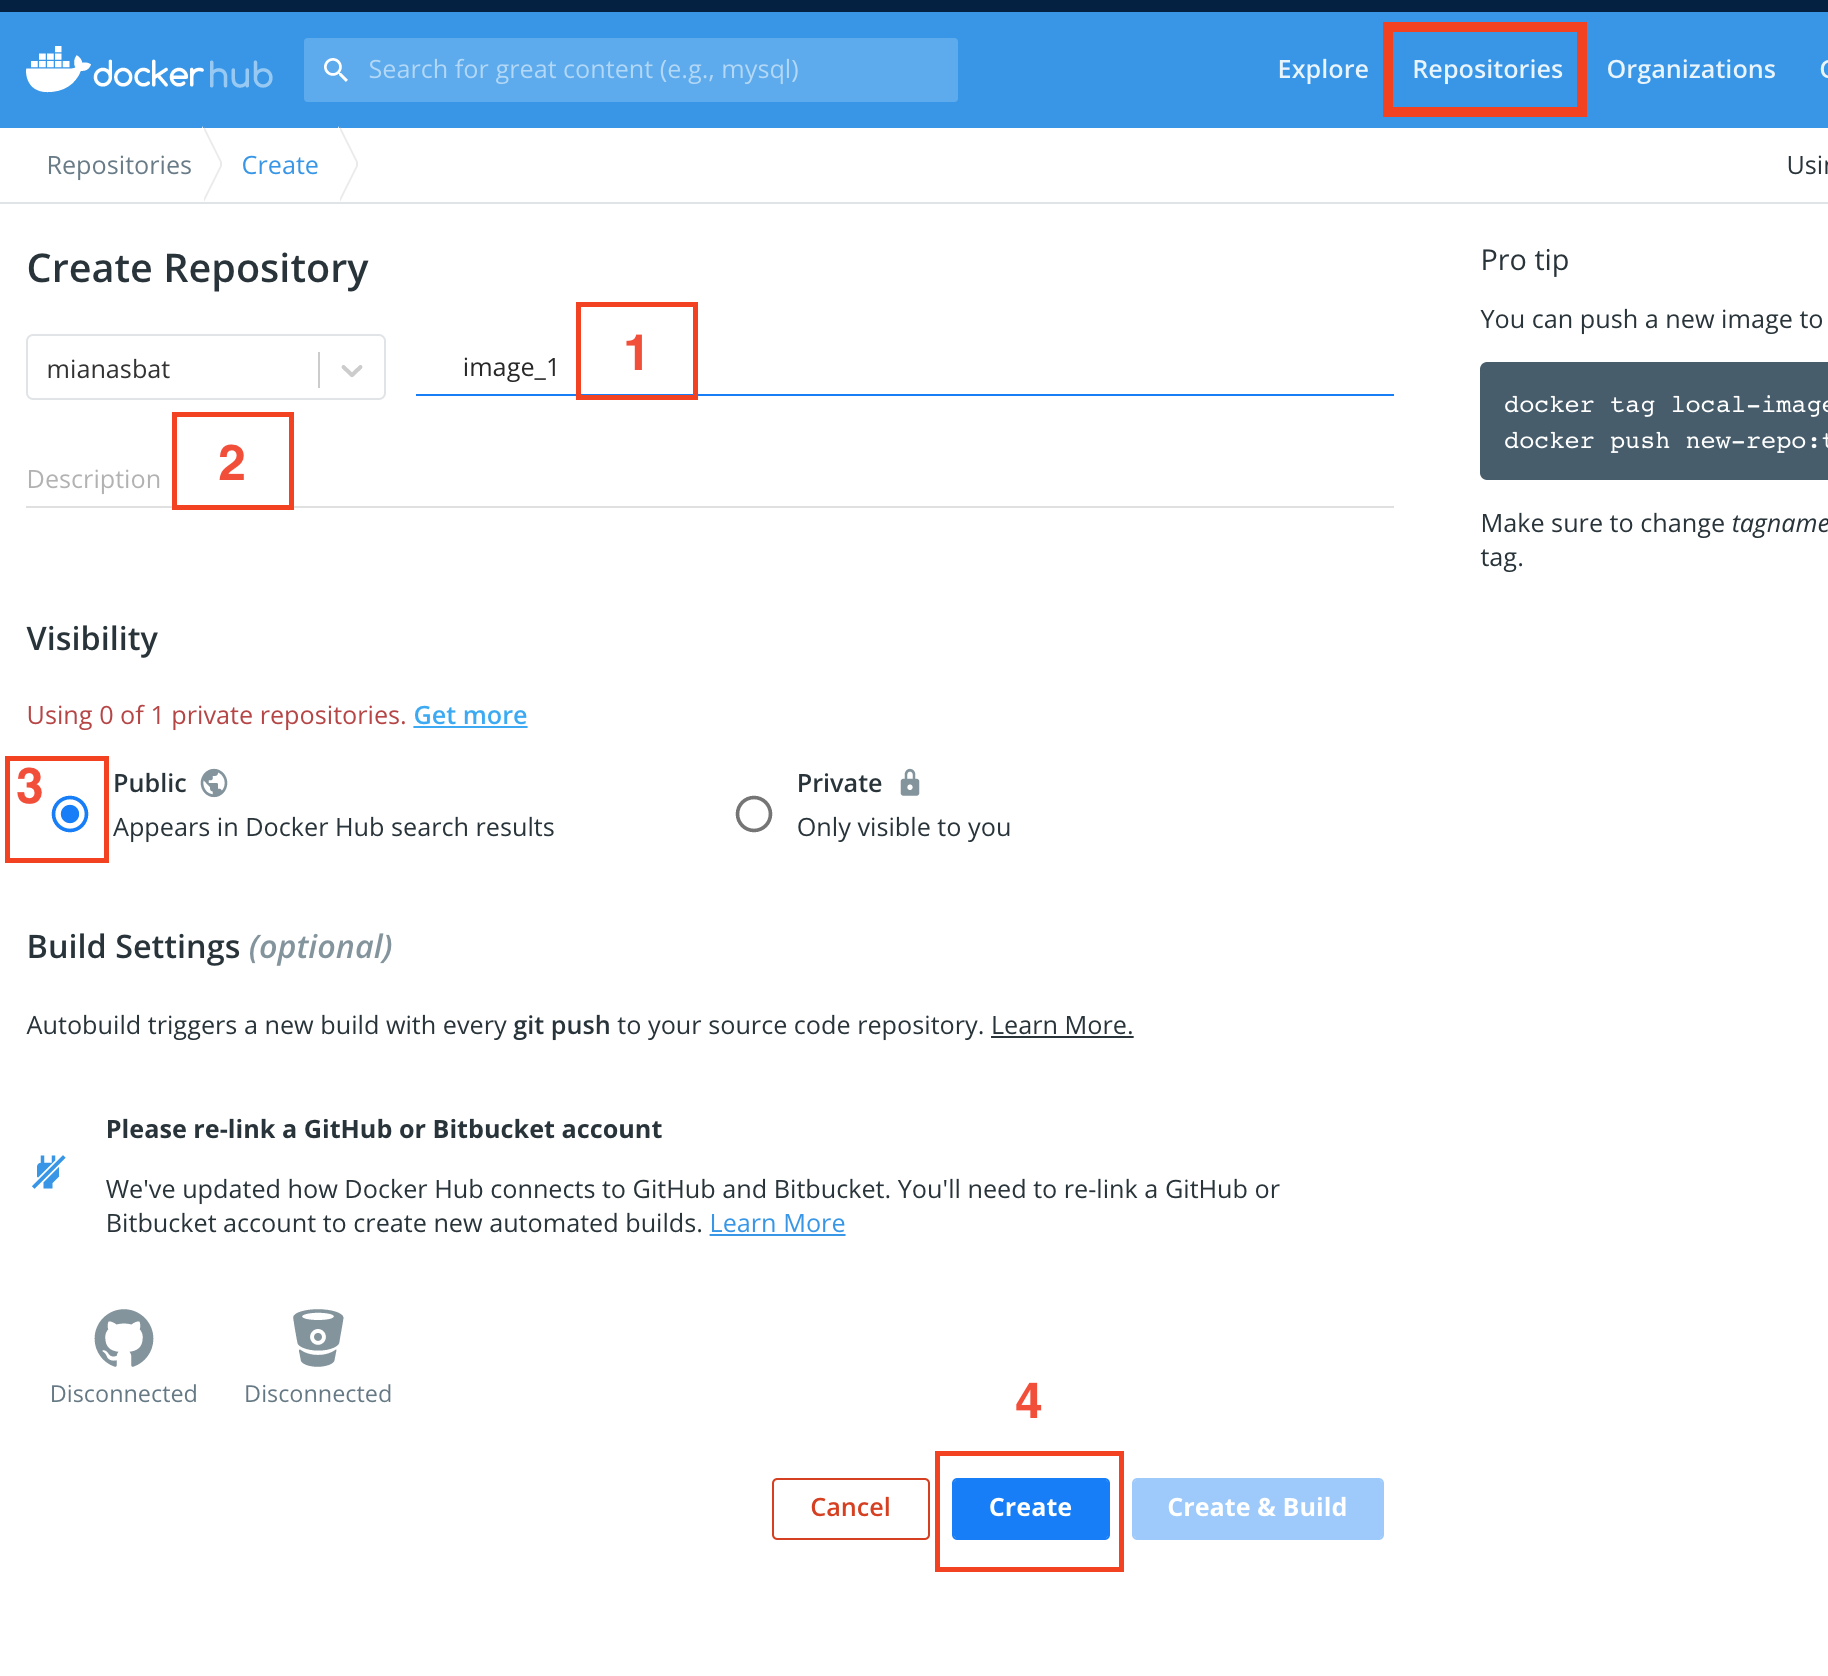
Create a repository
Give a name, better to give the same name as the image name e.g. image_1 in our case.
Give a description.
Select the public/private permission.
Click Create to create the repo.
Tag your image
Now you need to tag your image to link it to your dockerhub account. The format is
docker tag image_1:v1 <dockerhub_username>/<repository_name>:<tag_name>
# e.g.
docker tag image_1:v1 mianasbat/image_1:v1
# To check the updated image
docker images
Login to dockerhub
On docker host login to your docker hub account from terminal by the following command and providing the password when requested.
# On Mac and Linux
docker login
username: <enter dockerhub id>
password: <enter password>
Login succeeded

# On Windows gitbash
winpty docker login
username: <enter dockerhub id>
password: <enter password>
Login succeeded
Upload to dockerhub
Finally to push it to dockerhub
docker push <dockherhub_username>/image_name:v1
e.g.
docker push mianasbat/image_1:v1
Verify the upload
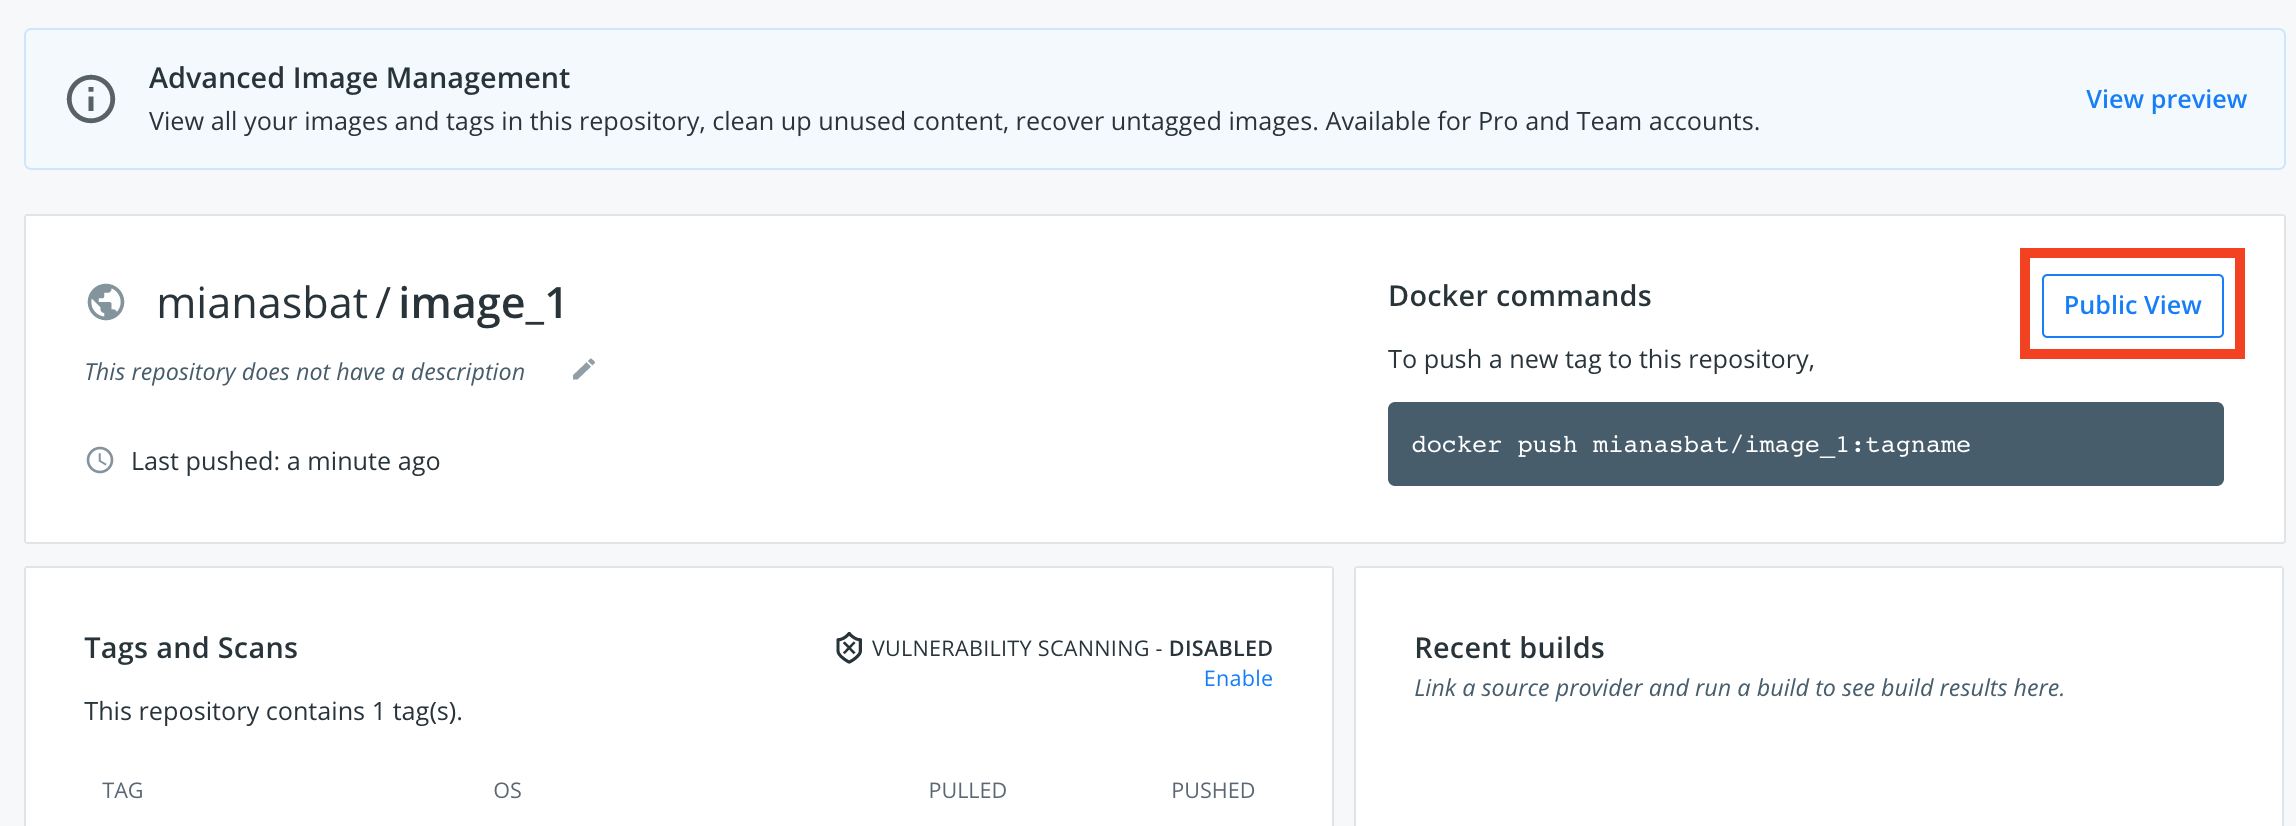
On completion of the upload step, go to dockerhub online and check the repository. You will have the new image available. Click the public view to see how to download.
Sharing your image
People can easily reproduce your work if repository permission is public.
docker run <dockerhub ID>/<repository_name:tag_name>

# On Mac and Linux
docker run mianasbat/image_1:v1

# On Windows in gitbash
winpty docker run mianasbat/image_1:v1